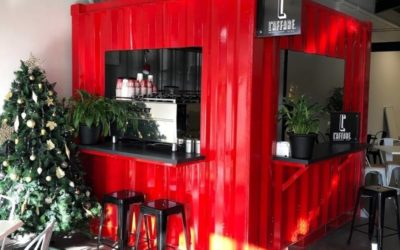
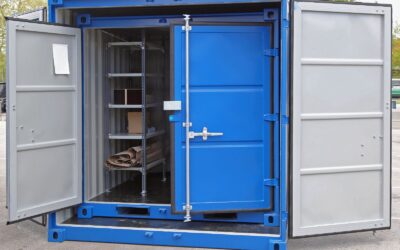
Imagine transforming a humble shipping container into a chic office, cosy sleep-out, or trendy café. This is no longer just a dream for architects and designers—it’s a burgeoning trend catching the imagination of DIY enthusiasts, homeowners, and small business owners alike in New Zealand and beyond.
The rise of shipping container modifications offers a cost-effective and customisable approach to creating versatile spaces. This guide will walk you through everything you need to know to start your own DIY shipping container project, from choosing the right container to advanced modifications and cost considerations.
Choosing the Right Container
Factors to Consider
Selecting the right shipping container is crucial for a successful modification project. Consider the size, condition, and purpose of the container. Standard containers come in various sizes, but the most common are 20ft and 40ft. High cube containers offer extra height, providing more headroom.
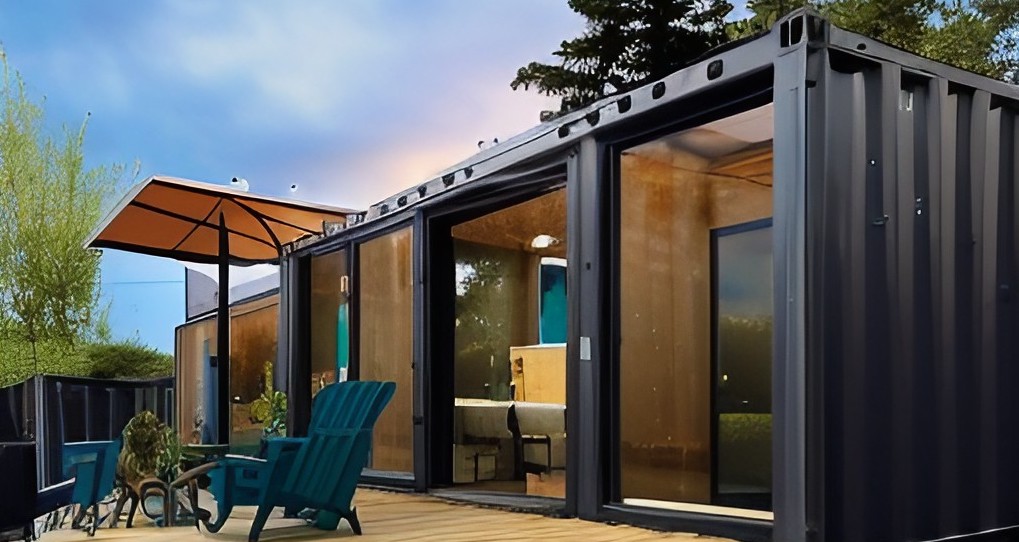
When choosing a container, inspect it thoroughly for rust, dents, and structural integrity. A few cosmetic flaws are manageable, but avoid containers with significant damage or wear.
Where to Buy
When it comes to sourcing shipping containers in New Zealand, NZBOX stands out as one of the leading suppliers in the industry. Offering a diverse selection of containers for both hire and sale, we cater to a variety of needs, whether you’re looking for a temporary solution or a long-term investment.
Our commitment to quality ensures that customers receive containers that are not only structurally sound but also versatile for various modifications. With competitive pricing and excellent customer service, NZBOX has established itself as a trusted partner for DIY enthusiasts and businesses alike, simplifying the process of finding the perfect shipping container for your project.
Planning Your Modification
Identifying Your Needs
Before you start cutting and welding, define your needs. Are you building a storage unit, an office, living quarters, or something else? Understanding your purpose will guide your design and material choices.
Creating a Detailed Design Plan
A detailed design plan is essential. Sketch out your layout and make a list of required materials. Consider insulation, ventilation, and any additional features like windows and doors. Planning ahead will save you time and resources in the long run.
Essential Tools and Materials
Basic and Specialised Tools
Equip yourself with the necessary tools for container modification. Basic tools include a hammer, drill, saw, measuring tape, and level. Specialised tools like a plasma cutter or oxy-acetylene torch are needed for precise cuts. Welding equipment is also essential for structural modifications.
Commonly Used Materials
Materials vary depending on your project but generally include insulation (rigid foam, spray foam, or fibreglass), structural materials (wood framing, metal studs, fasteners), and finishing materials (drywall, flooring, paint). For plumbing and electrical work, ensure you have pipes, wiring, fixtures, and outlets.
Basic Container Modifications
Step-by-Step Guide
- Cutting and Welding:
- Start by cutting openings for doors and windows using a plasma cutter or torch.
- Weld frames around these openings to reinforce the structure.
- Weatherproofing and Insulation:
- Apply rust-proof paint to the exterior.
- Install insulation to regulate temperature. Rigid foam and spray foam are popular choices.
Tips for Year-Round Use
Ensure your container is well-insulated and weatherproofed to handle seasonal changes. Proper ventilation is also crucial to maintain air quality and prevent condensation.
Advanced Modifications
Electrical and Plumbing Installation
For advanced modifications, consider hiring professionals for electrical and plumbing work. Install wiring, outlets, and lighting according to your design plan. If your project includes a bathroom or kitchen, plan your plumbing system carefully.
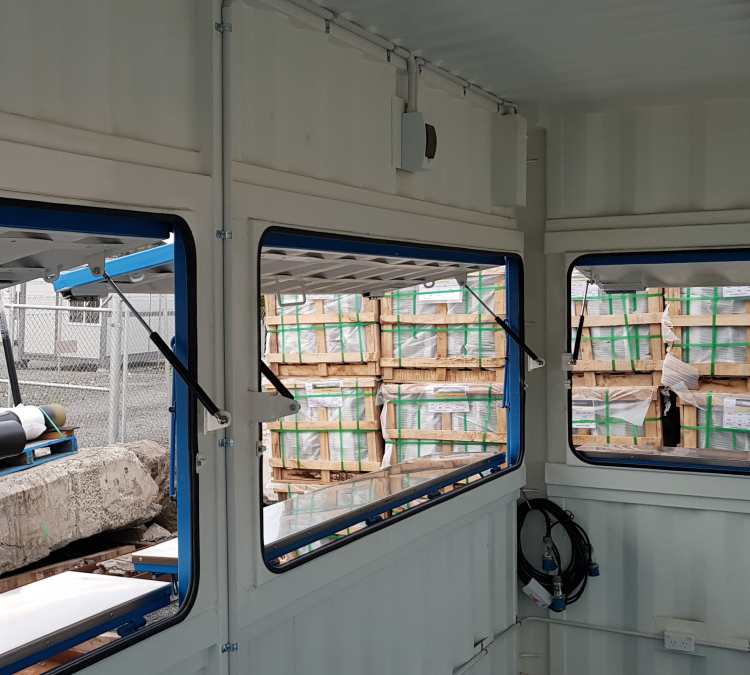
Incorporating Windows, Doors, and Custom Features
Adding windows and doors not only improves functionality but also enhances natural light and ventilation. Custom features like skylights, balconies, or extended awnings can add unique touches to your container.
Safety and Legal Considerations
Building Codes and Safety Standards
Always ensure your modifications meet local building codes and safety standards. This includes structural integrity, fire safety, and proper installation of electrical and plumbing systems.
Necessary Permits and Approvals
Check with your local authorities about the permits and approvals required for your modification project. Compliance with regulations is crucial to avoid legal issues and ensure the safety of your structure.
Real-Life Examples
NZBOX Container Modifications
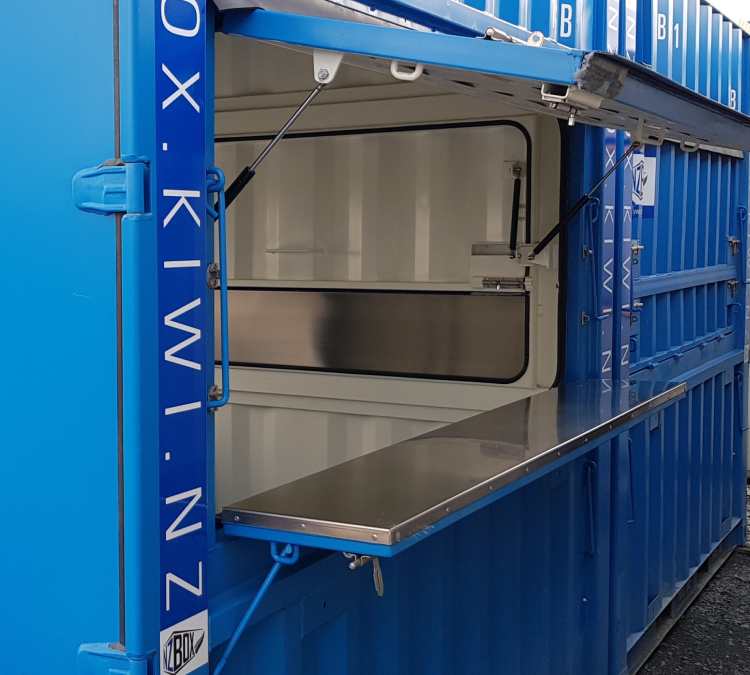
Drawing inspiration from real-life projects can be incredibly motivating. NZBOX in New Zealand offers a range of container modifications, including:
- 10ft Container Kiosks: Ideal for small retail spaces.
- 20ft Container Cafes: Perfect for trendy, portable cafés.
- Site Offices: Functional and mobile office spaces.
- Retail Stores: Customisable for a unique shopping experience.
- Sleepouts: Cosy, compact living spaces.
- Shelving Containers: Optimised for organised storage solutions.
These examples showcase the versatility and potential of shipping container modifications.
Cost Breakdown and Future Savings
Estimating Total Costs
The cost of a DIY container modification varies widely based on factors like container size, materials, and labour. Generally, expect to spend between $10,000 and $100,000. Budget for container purchase, transportation, site preparation, materials, labour, and permits.
Comparing Costs to Traditional Construction
Compared to traditional construction, container modifications can offer significant savings. The reuse of materials and simplified construction process often result in lower costs and quicker project completion.
Conclusion
Transforming a shipping container into a functional and stylish space is an exciting and rewarding DIY project. While it comes with its challenges, the benefits of customisation, cost savings, and sustainability make it an appealing choice for many. Whether you’re a homeowner looking to expand your living space, a business owner seeking a unique office, or a DIY enthusiast eager for a new project, shipping container modifications offer endless possibilities.
By following this comprehensive guide, you can confidently embark on your shipping container modification journey and create a space that’s truly your own. For further advice and guidance, please reach out to the team at NZBOX who will be more than happy to provide advice and guidance about shipping container modifications.

